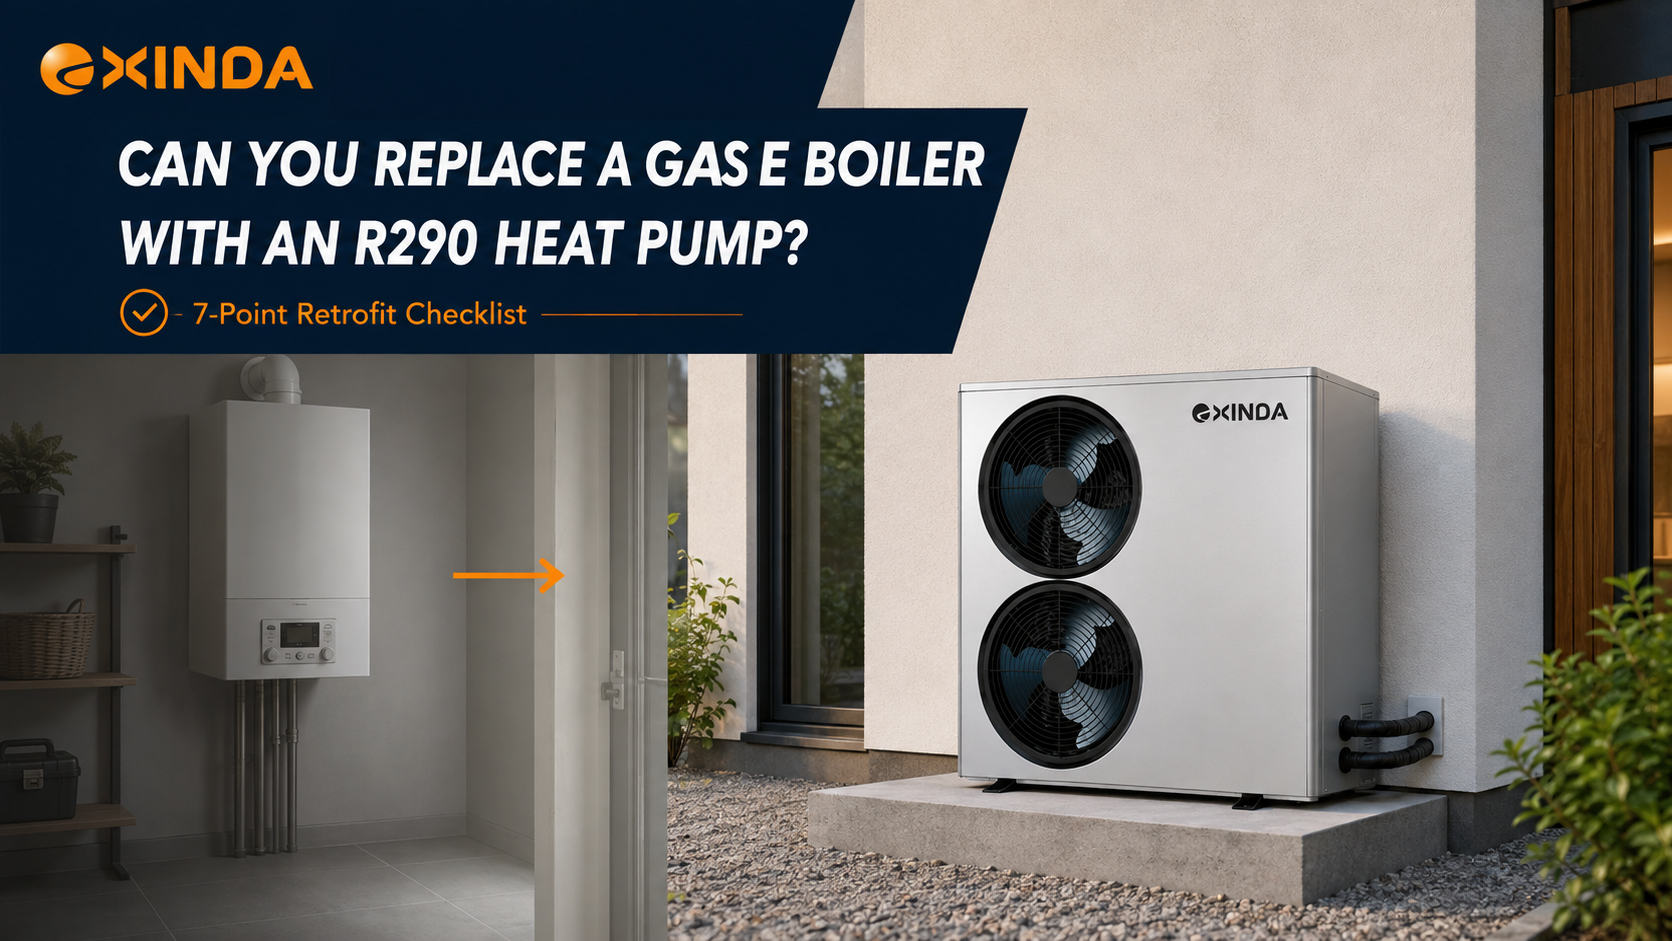

An R290 heat pump installation checklist helps installers identify selection, hydraulic and site problems before equipment reaches a residential retrofit project.
Replacing a boiler with an air-to-water heat pump involves more than connecting a new outdoor unit to the existing pipework. The installer must confirm the building heat loss, radiator output, required water temperature, electrical supply, system flow rate, outdoor-unit position and commissioning strategy.
EXINDA supports European heating contractors and regional partners with model selection, technical documents, hydraulic information, installation preparation and product-side commissioning guidance.
Installers requiring project support can visit the EXINDA R290 heat pump supplier for installers page.
What Should Be Checked Before Selecting an R290 Heat Pump?
Before selecting a model, the installer should collect accurate project information.
At minimum, this should include:
- Project country and city
- Building type and heated floor area
- Calculated design heat loss
- Local outdoor design temperature
- Existing boiler capacity
- Current annual fuel consumption
- Radiator, underfloor heating or fan-coil configuration
- Existing flow and return temperatures
- Domestic hot-water demand
- Available electrical supply
- Number of heating zones
- Summer cooling requirements
- Proposed outdoor-unit position
- Local sound or planning restrictions
Floor area and existing boiler capacity can provide initial context, but they should not replace a building heat-loss calculation.
Older boilers are frequently oversized. Selecting a heat pump according to the boiler nameplate may therefore produce an oversized system, unnecessary cycling and a less efficient installation.
R290 Heat Pump Installation Checklist
The following checklist covers the main stages of a residential air-to-water heat pump retrofit.
| Project stage | Installer check | Why it matters |
|---|---|---|
| Building assessment | Calculate design heat loss | Establishes the actual heating requirement |
| Climate review | Confirm outdoor design temperature | Determines the relevant low-ambient capacity |
| Emitter assessment | Check radiator or underfloor output | Confirms whether rooms can be heated at the proposed water temperature |
| Model selection | Review capacity at project conditions | Nominal capacity alone is insufficient |
| Hydraulic design | Confirm water flow and pressure drop | Protects heat transfer and system operation |
| Water volume | Review minimum system volume | Helps prevent short cycling and supports defrost |
| Electrical review | Confirm voltage, phase and protection | Prevents site incompatibility |
| Unit placement | Check clearances, airflow and drainage | Supports safety, service access and defrost |
| Controls | Define zones and heating curve | Affects comfort and seasonal efficiency |
| Commissioning | Record temperatures, flow and settings | Establishes the operating baseline |
| Handover | Explain controls and maintenance | Reduces avoidable service calls |
How Should Installers Size the Heat Pump?
The selected heat pump should be evaluated at the conditions expected during the project’s heating season.
Installers should request:
- Heating capacity at the local design temperature
- Capacity at the required leaving-water temperature
- COP at the stated test condition
- Minimum and maximum modulation
- Operating envelope
- Required water-flow rate
- Electrical input
- Supplementary-heater information
- Defrost-control information
- Sound data for the exact model
A nominal 12 kW heat pump does not necessarily provide 12 kW at every combination of outdoor temperature and water temperature.
Performance measured at A7/W35 should not automatically be used to predict capacity at colder outdoor conditions or higher radiator temperatures.
For a retrofit project, the relevant question is:
Can the selected heat pump meet the calculated building load at the required water temperature and local design temperature?
EXINDA reviews model-specific performance data against the information provided by the installer.
Can Existing Radiators Be Retained?
Existing radiators may be retained when they can provide the required room output at the proposed heat-pump flow and return temperatures.
The installer should assess each important room rather than assuming the complete radiator system is suitable.
Radiator Assessment Checklist
- Calculate the room heat loss.
- Identify the installed radiator type and dimensions.
- Determine its output at the proposed mean water temperature.
- Compare the radiator output with the room heat loss.
- Identify undersized emitters.
- Check pipe sizes and available flow.
- Balance the radiator circuit.
- Review thermostatic radiator valve operation.
- Confirm the required system-water temperature.
A radiator originally selected for high-temperature boiler operation produces less heat when the flow temperature is reduced.
If the available output is insufficient, the project may require:
- Larger radiators
- Additional radiators
- Low-temperature fan-assisted radiators
- Improved building insulation
- Reduced room heat loss
- A higher heat-pump leaving-water temperature
- Supplementary heating under defined peak conditions
The objective is not always to retain every component unchanged. It is to establish the lowest practical water temperature that still maintains indoor comfort.
The EXINDA heat pump installation in Germany provides an example of an R290 system applied to a radiator-based residential retrofit.
What Water Temperature Does the Project Require?
Water temperature has a direct influence on heat-pump capacity and efficiency.
Typical project configurations may include:
| Heating emitter | General operating characteristic |
|---|---|
| Underfloor heating | Usually operates at comparatively low water temperatures |
| Oversized radiators | May support lower-temperature operation |
| Existing standard radiators | Requires room-by-room assessment |
| Fan coils | Depends on coil selection, airflow and design conditions |
| Domestic hot-water cylinder | Requires a separate temperature and control strategy |
These are general characteristics rather than fixed design temperatures. The final setpoint must be based on the calculated building and emitter requirements.
Weather-compensated control can reduce the leaving-water temperature during milder weather instead of operating at one fixed high temperature throughout the heating season.
Should the Existing Pipework Be Reused?
Existing hydronic pipework may be reusable, but it must be checked for the required water flow.
Compared with a boiler system, a heat pump may require a different relationship between:
- Heating capacity
- Water-flow rate
- Temperature difference
- Pipe diameter
- Pump head
- System pressure drop
Before installation, the contractor should inspect:
- Main pipe sizes
- Branch pipe sizes
- Existing circulation pumps
- Isolation valves
- Check valves
- Strainers
- Zone valves
- Bypass arrangements
- Hydraulic separators
- System cleanliness
- Air vents
- Expansion vessel
- Pressure-relief components
Restricted pipework, blocked strainers or unsuitable zone control can reduce flow and cause operating faults even when the heat pump itself is functioning correctly.
Is a Buffer Tank Always Required?
No. A buffer tank should not be added automatically to every heat pump installation.
It may be considered when the system has:
- Low total water volume
- Several independently controlled zones
- Frequent zone-valve closure
- Insufficient minimum flow
- Rapid changes in heating demand
- A risk of compressor short cycling
- A requirement for hydraulic separation
- Limited available system energy during defrost
However, an unnecessary or poorly connected buffer tank may increase heat loss, pumping energy and system complexity.
The decision should be based on the selected heat pump’s minimum water volume, minimum flow, modulation range and the complete hydraulic design.
How Should Domestic Hot Water Be Integrated?
Domestic hot-water preparation should be planned separately from space heating.
The installer should confirm:
- Number of occupants
- Expected daily hot-water demand
- Cylinder volume
- Cylinder heat-exchanger area
- Target storage temperature
- Reheat time
- Legionella-control strategy
- Immersion-heater requirements
- Three-way valve arrangement
- Sensor position
- Domestic hot-water priority settings
A cylinder previously used with a boiler may not always have a coil designed for heat-pump operation.
The heat-exchanger surface area and required water temperature should therefore be checked before the existing cylinder is retained.
Where Should an R290 Monoblock Heat Pump Be Installed?
R290 is propane and is classified as a flammable refrigerant. The refrigerant circuit of a monoblock heat pump is contained within the outdoor unit, but the installation must still follow the applicable product manual and local requirements.
The installer should review:
- Manufacturer-required clearances
- Air intake and discharge space
- Service access
- Ground or wall-mounting structure
- Distance from doors and windows
- Nearby drains, pits or openings
- Potential ignition sources
- Snow accumulation
- Roof drainage
- Flood risk
- Prevailing wind
- Noise-sensitive rooms
- Property boundaries
- Defrost-water disposal
Requirements vary by product, country and installation location. The current manual for the exact model must be checked before finalizing the site position.
How Should Defrost Water Be Managed?
During cold and humid operation, frost may form on the outdoor heat exchanger. The heat pump periodically removes this frost through a defrost cycle.
The resulting water must be able to drain safely.
The installation should prevent:
- Water collecting beneath the unit
- Ice blocking the drain path
- Ice forming on walkways
- Water flowing toward the building
- Frozen drainage pipes
- Damage to mounting structures
- Recirculation caused by snow or ice accumulation
The unit should be installed at an appropriate height for the local snow conditions. Drainage arrangements must remain functional during winter operation.
What Electrical Checks Are Required?
Before delivery, confirm:
- Single-phase or three-phase supply
- Nominal voltage and frequency
- Available electrical capacity
- Cable size
- Circuit protection
- Isolation arrangement
- Earthing
- Supplementary-heater load
- Circulation-pump supply
- Cylinder-heater supply
- Control wiring
- External thermostat or demand signal
- Smart-grid or photovoltaic connections where applicable
Electrical requirements must be taken from the exact model documentation.
The installer should not assume that two heat pumps with similar nominal capacities require the same electrical supply.
What Should Be Completed Before Startup?
Before energizing the heat pump, the installer should complete a structured pre-commissioning check.
Hydraulic System
- Flush the system
- Clean strainers and magnetic filters
- Confirm correct valve positions
- Fill the system
- Vent trapped air
- Check system pressure
- Confirm expansion-vessel setup
- Inspect for leakage
- Confirm adequate flow
- Verify freeze protection
- Check circulation-pump direction and operation
Electrical System
- Confirm voltage and phase
- Check protective devices
- Inspect cable terminations
- Confirm earthing
- Check sensors
- Verify external controls
- Confirm supplementary-heater connections
Outdoor Unit
- Check mounting and level
- Confirm clearances
- Remove transport protection
- Inspect the fan area
- Confirm unobstructed airflow
- Check defrost drainage
- Inspect water connections
- Confirm service access
R290 Heat Pump Commissioning Checklist
Commissioning should establish whether the complete system—not only the outdoor unit—is operating correctly.
The installer should record:
- Exact model and serial number
- Installation date
- Outdoor temperature
- Operating mode
- Inlet-water temperature
- Outlet-water temperature
- Water-temperature difference
- Available flow information
- System pressure
- Compressor operation
- Circulation-pump operation
- Heating-curve settings
- Domestic hot-water settings
- Supplementary-heater settings
- Zone-control operation
- Active or stored fault codes
- Electrical readings where required
Photographs of the installation, controller settings and hydraulic arrangement should be retained with the commissioning record.
How Should the Heating Curve Be Set?
A heating curve adjusts the target water temperature according to outdoor conditions.
A suitable initial setting should be based on:
- Building heat loss
- Heating-emitter type
- Design outdoor temperature
- Required indoor temperature
- Building response
- Customer occupancy pattern
The curve should then be refined using actual operation.
If the curve is too high, the system may operate at unnecessarily high water temperatures. If it is too low, the building may not reach the required indoor temperature during colder weather.
Frequent manual changes can make diagnosis difficult. Installers should document the initial and final settings.
What Information Is Needed for Technical Support?
When requesting assistance, installers should provide enough information to reproduce or understand the operating condition.
Useful information includes:
- Product model
- Serial number
- Project location
- Installation date
- Hydraulic schematic
- Photographs of the installation
- Fault code
- Outdoor temperature
- Inlet and outlet water temperatures
- System pressure
- Flow information
- Controller settings
- Electrical measurements
- Description of when the issue occurs
- Actions already completed
This information helps distinguish between a product fault, low-flow condition, sensor problem, controller setting, electrical issue or hydraulic-design problem.
Technical Documents Installers Should Request
Before installation, contractors should obtain the current documents for the exact model.
These may include:
- Technical datasheet
- Performance tables
- Operating envelope
- Product dimensions
- Hydraulic connection details
- Water-flow requirements
- Electrical wiring diagram
- Controller instructions
- Installation manual
- Commissioning information
- Fault-code list
- Maintenance information
- ErP documents where applicable
- CE conformity documentation
- Heat Pump KEYMARK information for certified models
- Spare-parts information
Certification is model-specific. Documentation for one model or capacity should not be assumed to cover the complete product range.
For selection, documentation and product-side assistance, visit EXINDA’s R290 heat pump support page for installers.
European R290 Heat Pump Project Examples
UK Boiler-Replacement Project
A UK residential project integrated an EXINDA R290 air-to-water heat pump with the building’s radiator circuit, domestic hot-water system and photovoltaic controls.
View the EXINDA boiler-to-heat-pump retrofit project.
Germany Radiator Retrofit
This German villa project demonstrates the application of an EXINDA R290 heat pump in an existing hydronic radiator system.
View the EXINDA heat pump installation in Germany.
Italy Multi-Family Project
An Italian multi-family development uses multiple EXINDA R290 monoblock heat pumps for space heating, cooling and domestic hot-water production.
View the EXINDA R290 heat pump project in Italy.
UK MCS and Retrofit Guidance
UK installers evaluating product documentation and retrofit applications can review the model-specific MCS guidance.
Read the MCS-certified R290 heat pump guide.
Frequently Asked Questions
What is the most important step before installing an R290 heat pump?
The most important step is confirming the calculated building heat loss and matching it with heat-pump capacity at the project’s outdoor design temperature and required water temperature.
Can an R290 heat pump use existing radiator pipework?
Existing pipework may be reused when its diameter, condition, pressure drop and available flow are suitable for the selected heat pump and heating load.
Must every heat pump installation include a buffer tank?
No. Buffer-tank requirements depend on minimum water volume, minimum flow, zoning, modulation and hydraulic design.
Can an R290 heat pump replace a gas boiler without changing radiators?
It may be possible when the existing radiators can meet each room’s heat loss at the proposed heat-pump water temperature. Undersized radiators may need to be replaced or enlarged.
What documents should installers obtain before installation?
Installers should obtain the current datasheet, performance tables, installation manual, wiring diagram, controller instructions and applicable certification documents for the exact model.
Does EXINDA provide commissioning support?
EXINDA can provide product-side guidance concerning controller operation, model documentation and commissioning information. Complete system design, installation and local compliance remain the responsibility of the qualified project team.
Are all EXINDA R290 heat pumps Heat Pump KEYMARK certified?
Certification must be confirmed for the exact model. A certificate covering selected models should not be interpreted as covering the entire product range.
Where can installers request EXINDA heat pump support?
Installers can submit the project location, calculated heat loss, outdoor design temperature, required water temperature, emitter type and electrical supply through the EXINDA installer support page.
Request Installer Project Support
If you are planning an R290 heat pump installation, please provide:
- Company name and country
- Project location
- Building type
- Calculated heat loss
- Outdoor design temperature
- Existing heating source
- Radiator, underfloor or fan-coil details
- Required flow-water temperature
- Domestic hot-water requirement
- Available electrical supply
- Required quantity
- Project schedule